supplies:
*envelopes
* tape (scotch and clear)
*card stock (2 sheets, doesn't have to be the same.)
* hole protectors
* string/hemp
1. on the far left of your envelope on the side where you would write the address, write the category you would like. for example dairy, snack, meats, etc.
 2. starting from the left cut along the crease of the flap until you get to the word. cut up the height of the word, across the top of the word and down the the crease again.
 3. lick the envelope as if you were closing it and tuck the flap inside to make it more sturdy leaving the category tag sticking out and off the envelope.
 4. lay that envelop on top of a new envelop and write the next category where the last tab ended.
5. cut it the same way.
6. continue to do so until you have all the tabs you want. you can switch which side you start cutting on once you get to the middle of the envelope.
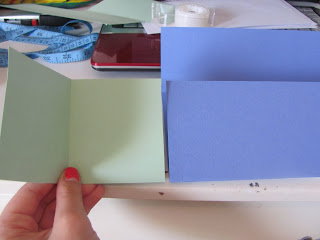
7. then take a piece of clear tape and cut it in half lengthwise and wrap it around each tab to give it strength. 8. take a piece of card stock and fold it over the envelope halfway. then fold the other end to meet in the middle. make sure you don't bend the tabs while doing so.
9. punch holes in about the middle of each flap and put a hole protector on it. 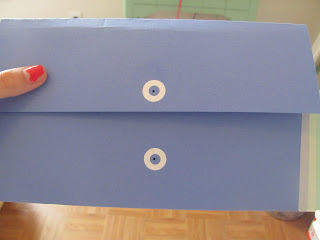 10. take the string and fold it in half. take the fold in the middle and push it through the bottom flap. then take the two ends and thread them through the folded middle staying on the same side. (if that makes any sense.)
 10. then you can take the ends and pull them through the top hole and tie a knot to keep them closed.

6. continue to do so until you have all the tabs you want. you can switch which side you start cutting on once you get to the middle of the envelope.
7. then take a piece of clear tape and cut it in half lengthwise and wrap it around each tab to give it strength.
8. take a piece of card stock and fold it over the envelope halfway. then fold the other end to meet in the middle. make sure you don't bend the tabs while doing so. 9. punch holes in about the middle of each flap and put a hole protector on it.  10. take the string and fold it in half. take the fold in the middle and push it through the bottom flap. then take the two ends and thread them through the folded middle staying on the same side. (if that makes any sense.)
 10. then you can take the ends and pull them through the top hole and tie a knot to keep them closed.
* i used really big envelopes so my card stock wasn't big enough so i,...
1. cut another piece of card stock to match the bottom half and folded it to add about an half inch to the sides.
2. i taped one side of the new card stock to the inside of the bottom flap. repeat on other side.
 3. then i placed a piece of tape on the other end of the new card stock facing me so when i laid it down and pressed on it, it would stick to the other side of the first card stock. repeat on other side.
 4. then i took a piece of tape and cut it in half length wise and used it to secure the visible parts together. i did this on both sides, front and back.
 complete.
 hope you like it and it wasn't too hard to understand. if you have any questions feel free to ask!
3. then i placed a piece of tape on the other end of the new card stock facing me so when i laid it down and pressed on it, it would stick to the other side of the first card stock. repeat on other side. 4. then i took a piece of tape and cut it in half length wise and used it to secure the visible parts together. i did this on both sides, front and back. complete.
 hope you like it and it wasn't too hard to understand. if you have any questions feel free to ask!
blog you later!
-becca ♥
No comments:
Post a Comment